Install MYOB Accountants Enterprise
For a terminal server, run the installation using Add or Remove Programs on the terminal server console.
For a server, run the installation from the server console
-
Log in as an administrator.
-
Browse to the location where you saved the download.
-
Double-click the downloaded executable file.
-
Click OK on the dialogue box.
-
Click Unzip to extract the installation files to a temporary directory.
You may specify a location using Browse before clicking Unzip.
-
The Installation menu will open automatically. Otherwise, to open the Installation menu, browse to the extracted installation files and double-click the readme.exe.
-
If you are installing AE Tax:
-
To a terminal server: go to the next step.
-
Otherwise, on the Installation page, click the install button and go to Step 10.
-
-
Click Browse.
-
Open the Control Panel:
For a Windows 2012 terminal server:
-
Click Install Application on Remote Desktop Server Wizard. The Install Program wizard opens.
-
Click Next and the Run Installation Program window opens.
-
Browse to the Setup.exe file, then click Open.
-
-
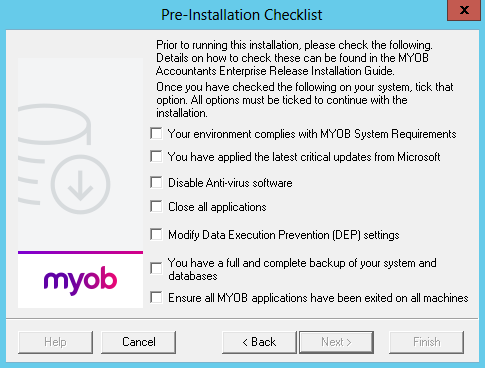
Click Yes to accept the terms of the Licence Agreement. The Pre–Installation Checklist window displays. You must tick each condition to confirm you have checked them all.
-
Click Next. The Choose Target Directory window appears.
We recommend that you don’t change the default directory. If you change it to a mapped drive, you may get the following error during the install:
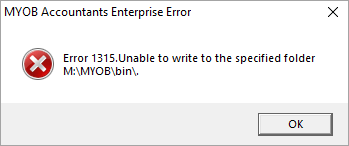
If you decide to change the directly, ensure you don’t enter any spaces in the path.
-
Click Next and the Enter Business Name window opens. Confirm your business name on this screen.
-
Click Next. On the Software Components window confirm your settings.
-
Click Next. The following warning message displays:
You must be at the server where the AE Tax SQL database is located. -
Click OK. On the Start Copying Files window confirm the summary of the current settings.
-
Click Next and the setup progress displays.
-
When the setup files are successfully upgraded, your computer may need to be restarted. The Setup Complete window automatically appears.
-
Click Finish.