Importing client data using Excel or CSV format
You can import manual data to a client anytime.
Key points when preparing your file for importing
The file type is CSV, txt or xlsx and has basic data such as account code, account name and balance (or debit/credit).
Make sure all the columns in your import
have column headers.
have no blank rows in the data, and the thousands are not separated by a comma
Ensure your dates are in the date format in Excel and your data is YTD.
Example
Date | Account number | Account name | Account type | Amount |
31/12/2017 | 1179 | AP Account | asset | -1500 |
31/12/2017 | 2204 | Accounts Payable (1) | liability | 35000 |
30/09/2017 | 2205 | Accounts Payable (VAT) | liability | 65000 |
31/12/2017 | 2000 | Accounts receivable | asset | 0 |
You can upload as much information as you want into Client Accounting, so it will be easier if you design a firm-wide template.
Where to upload an Excel or CSV file
When adding a new client, in the Sync section, select Upload file.
OR
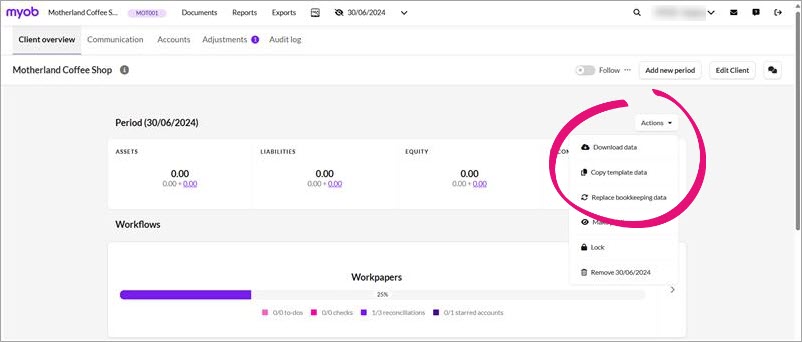
After changing a file’s sync from current automatic synchronisation to manual upload, in the Client overview, click Actions and choose Replace bookkeeping data.
Upload the Excel or CSV file
Choose where to upload a Excel or CSV file (see above).
Select Excel or CSV in Where do you want to fetch the data from? question.
Select the columns you want to import and match the column headers with the appropriate columns in Client Accounting.
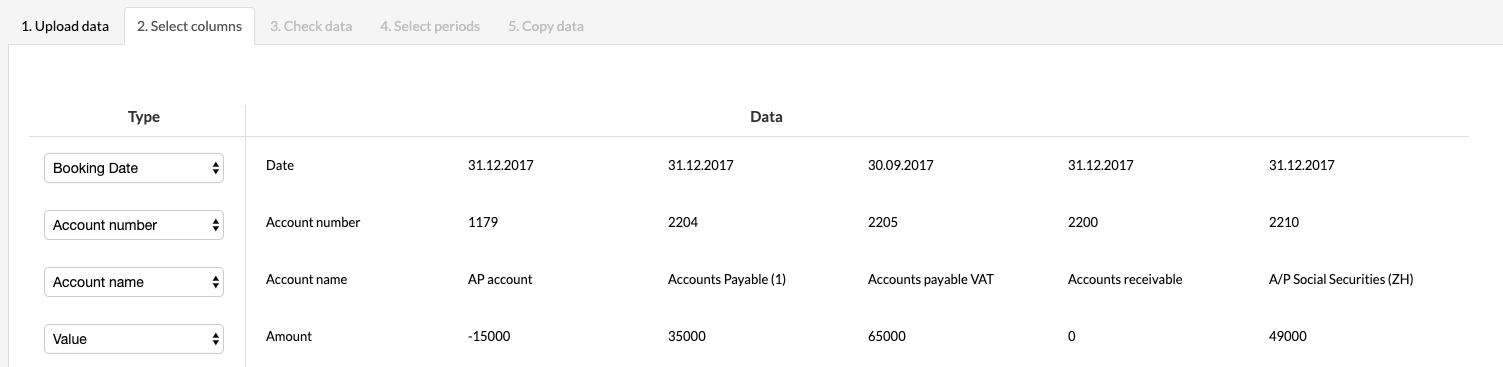
The following columns are essential to add the data successfully (but you can import as much information as you need).
Account code: the account code for that particular line item
Account name: the name associated with the ledger code (e.g. Issued capital)
Account type: the account type associated with the account. This will determine if the opening balance needs to be brought forward for the account or if it needs to be included in the retained earnings of the next financial year. The following account types should be used:
asset,
liability
expense
income
equity.
Credit/ debit value: You can either select the value (balance) or both the debit and the credit columns. Keep in mind that the sum of all the accounting values needs to equal zero.
Booking date and/or period: The booking date allows you to associate bookings with a chosen period.
Other columns
If you don’t want to add a column, then choose Ignore.
Choose Other value if you want to upload the data into the Silverfin program, and you can then name the columns yourself. Checking the items will confirm the selection.
When you have configured everything correctly, click Next.
Check the data. This is to make sure that the data is checked and complete before being uploaded.